Wednesday, July 14, 2010

Art class: circles


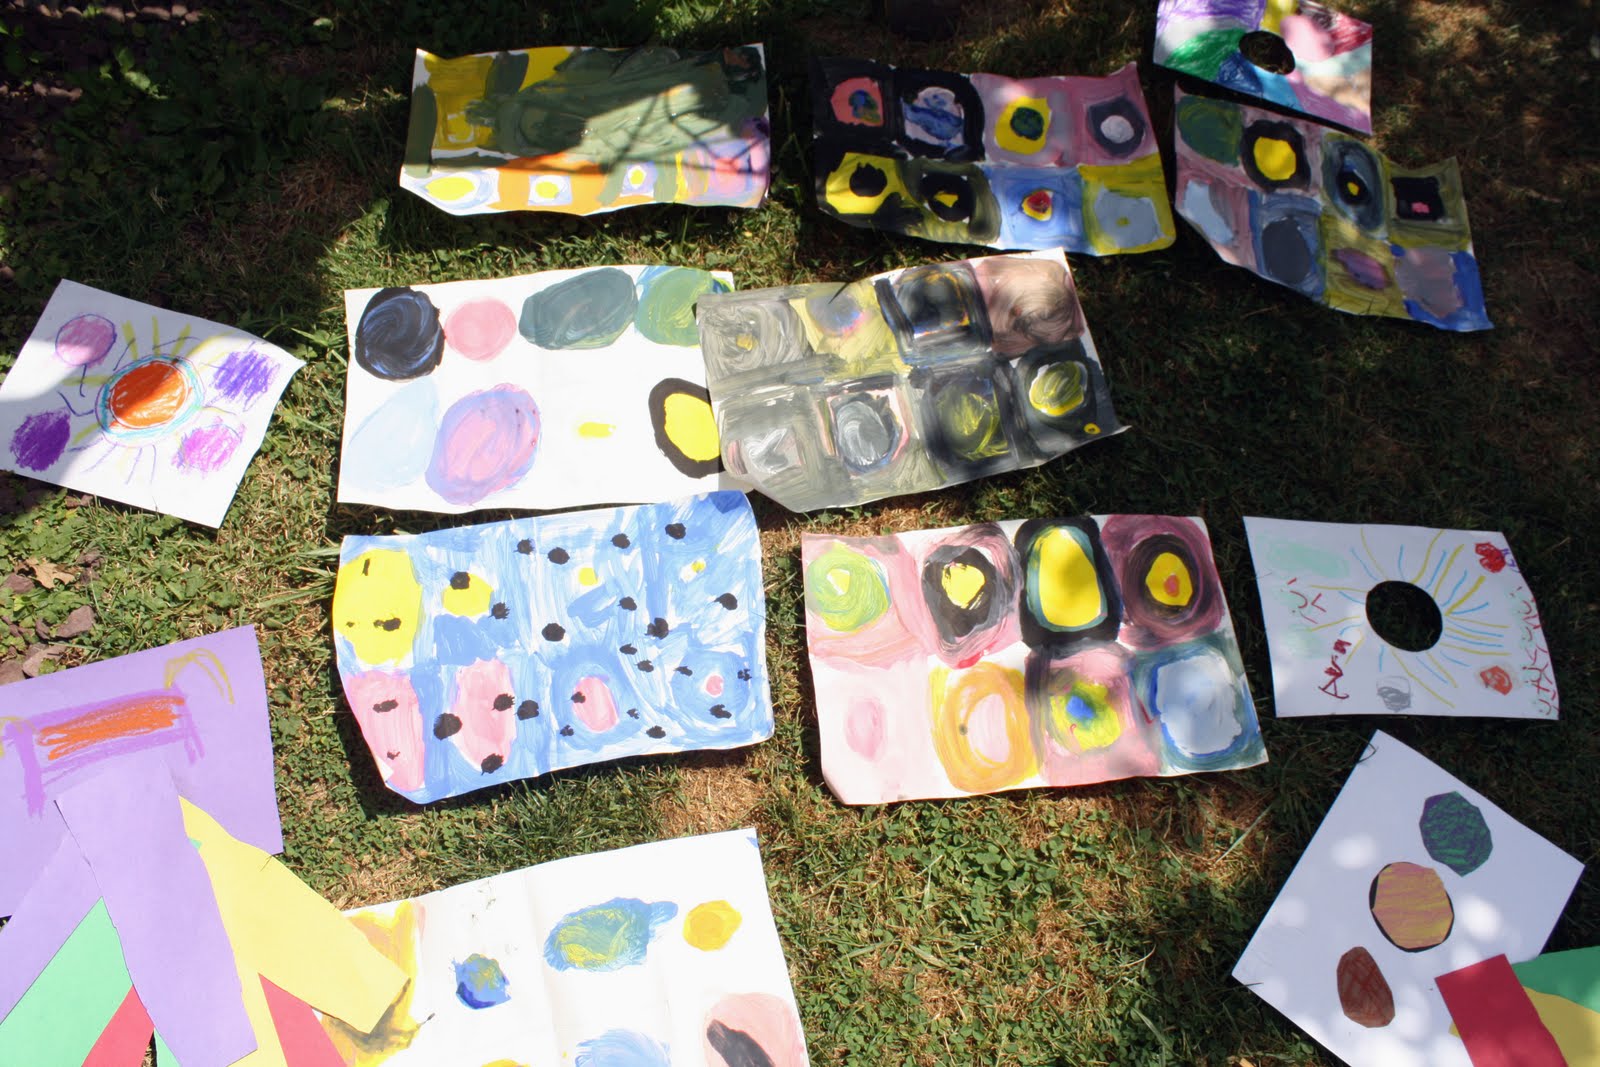
Last week's art class theme was circles. I read the book "The Dot", which tells the story of a little girl who thinks she can't draw but ends up creating a series of dots in different sizes and colors. We also looked at Wassily Kandinsky's "Squares with Concentric Circles" and noticed how he used circles and mixed colors to create the artwork.

 {Squares with Concentric Circles}

I gave the children three colors of tempera paint to work with: red, yellow and blue. We folded the paper so that it ended up with eight equal spaces and the girls traced the fold marks with pencil so they would be easier to see. I started out with specific instructions: paint one small yellow circle, then on a different square paint a medium yellow circle and finally a large yellow circle. Repeat with red then blue. After they finished that part I told them to keep making circles around the original circles until the space was filled. They loved when the paint mixed together and created a new color - in fact, it was a surprise to them when it happened. After that, they were on a mission to create new colors.


It has worked out so far that we work on two projects in class - one before snack and one after. The first one is the main project and the second carries through the theme, but with a little more freedom. This time I had cut circles in letter-sized paper (inspired by this), and put out oil pastels, scissors, glue and construction paper. They were free to do what they wanted, and most of them decided to cover up the hole. I had two older girls in class this week (11-year-olds) and I sat them at a different table with their own supplies (some of which the younger girls didn't get). Their project made use of the circle hole by making little books about circles and attaching them to the hole in the paper. So creative!
Tuesday, July 6, 2010

The first Creative Kids of McKinley art class!

{The first summer art class in the backyard.}

My first summer art class was a success! The girls in the class were so receptive to the project, and even ignored the swingset in the yard while we made art. I read "The Mixed Up Chameleon" by Eric Carle (thanks, Jill for letting me borrow your copy!) and showed them another chameleon book with lots of different patterns and colors. Then we talked about chameleons for a bit - how they blend in to their surroundings, their patterns, etc. Before class I made several templates for a body (I wasn't sure if each child would be able to draw the entire lizard). They shared the templates and worked really well together. After tracing the body, they added legs, eyes, and tongues (all done in pencil). Some even added a fly at the end of the tongue!


I talked about how we would decorate our chameleons. I handed out oil pastels and crayons and told them to draw patterns on the chameleons. They also added background stuff, like clouds, sun, and grass. When they finished with the drawing, they got to paint over them with watercolors. I explained (before they started with the drawing) how the oil pastels and crayons would resist the watercolors. They were really excited to actually see this happen in their work! They really had a great time and it was so fun to watch.


After their chameleons were finished, we took a snack break. They were even excited about that. (Seriously, this age rocks.) Our next mini-project was to draw the flowers I cut from the garden for each of them. We looked closely at the flowers, noticing the shapes - circle in the middle, little fuzzy things around the edge of the circle, long petals and a green stem.

One little girl was having trouble with her flower drawing and was erasing what she had done. She said, "I messed up!" (To which Malayna replied, "There is no messing up in art!") So I sat with her and helped her to look at the flower and see the shapes. After she drew it she got this big smile on her face and said, "Now THAT looks like a flower!" Watching her "get it" and knowing that she felt good about something she created was priceless.